.svg)


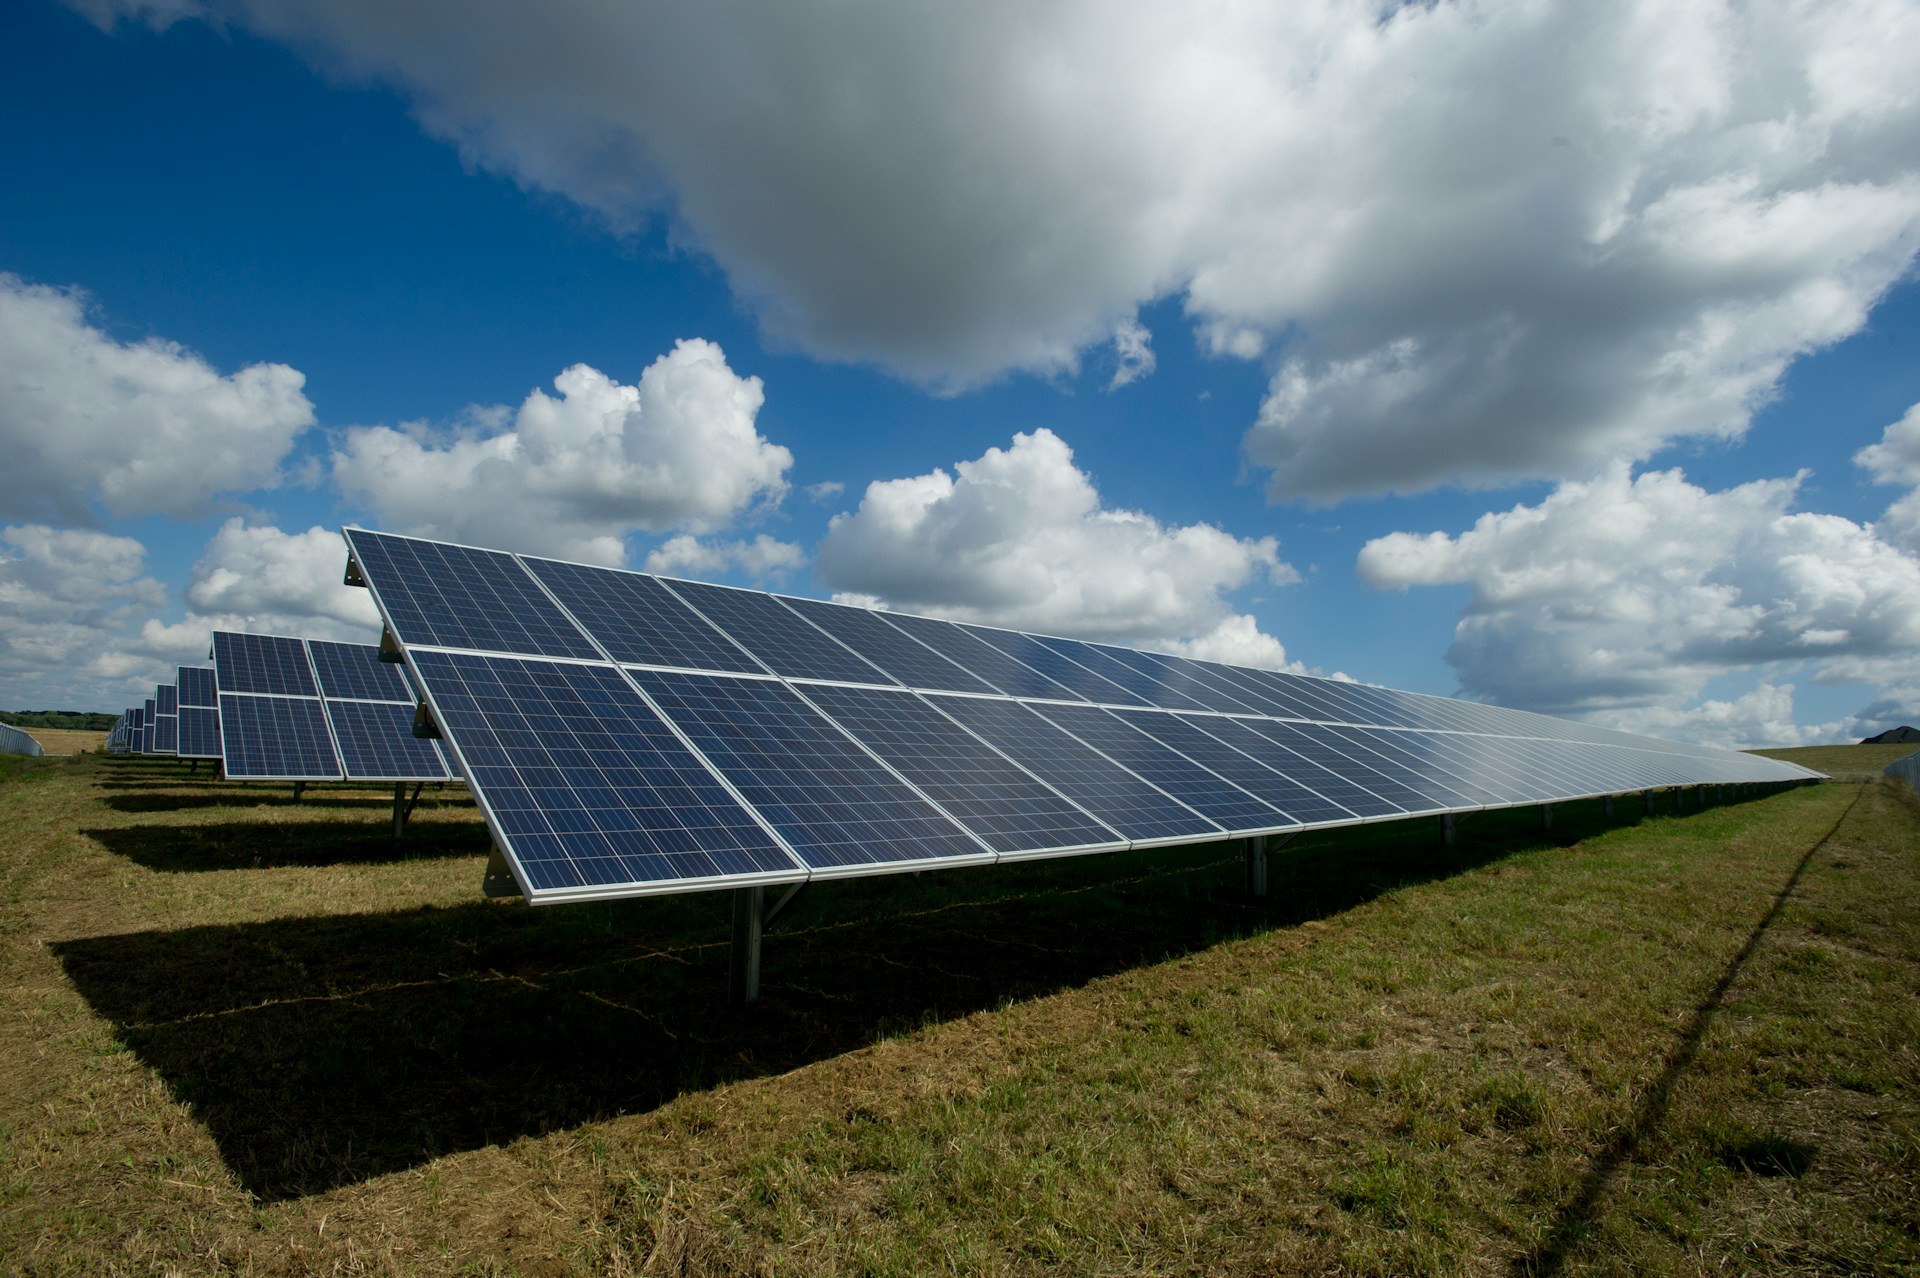
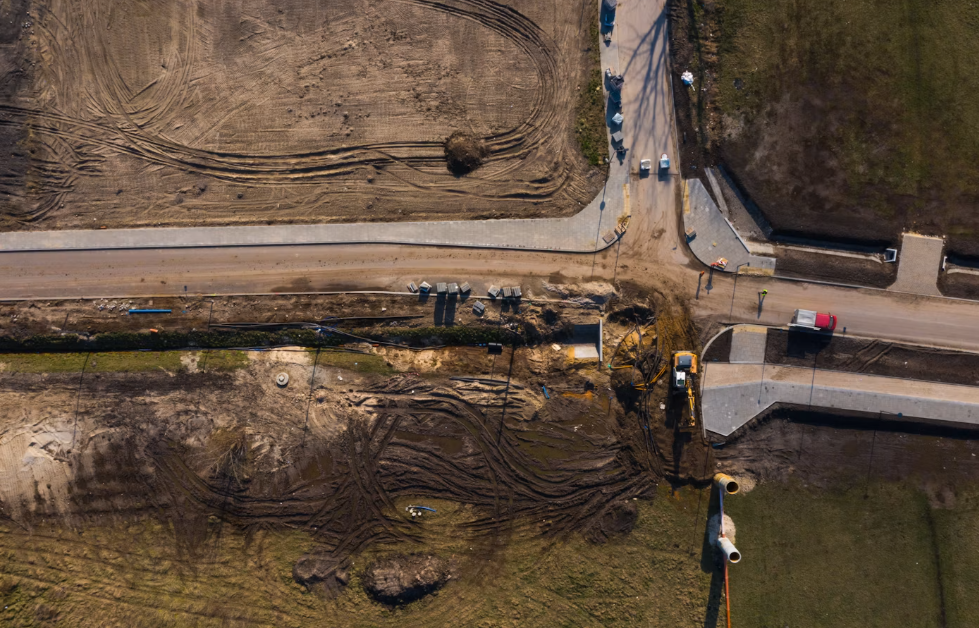
A utility-scale solar site can strip hundreds of acres down to bare soil in a matter of weeks. Then the panels, racking, and trenching crews move in, and that soil sits exposed for months. On a Gulf Coast site with clay-heavy ground and a heavy rain forecast, that window is where stormwater violations, rutted access roads, and washed-out trenches start.
Erosion control for solar farms is not a closeout task. It is a construction schedule item. Allied Hydromulch TX, LLC has worked disturbed acreage across Texas, Louisiana, Oklahoma, and New Mexico since April 1990.
In 2025 alone, our crews installed roughly 15 million square feet of mulch on commercial, industrial, and infrastructure sites. Solar development runs on the same math as any large earthwork job: the faster you get vegetation holding the soil, the fewer problems land on the general contractor.
In this guide, you will find how solar sites create erosion risk, where to look for hotspots before construction advances, which permanent stabilization methods fit which slope and soil conditions, and how to sequence temporary and permanent controls through the build. By the end, you will be able to build a stabilization plan that matches your grading schedule instead of chasing it.
Why Solar Sites Create Distinct Stabilization Risks
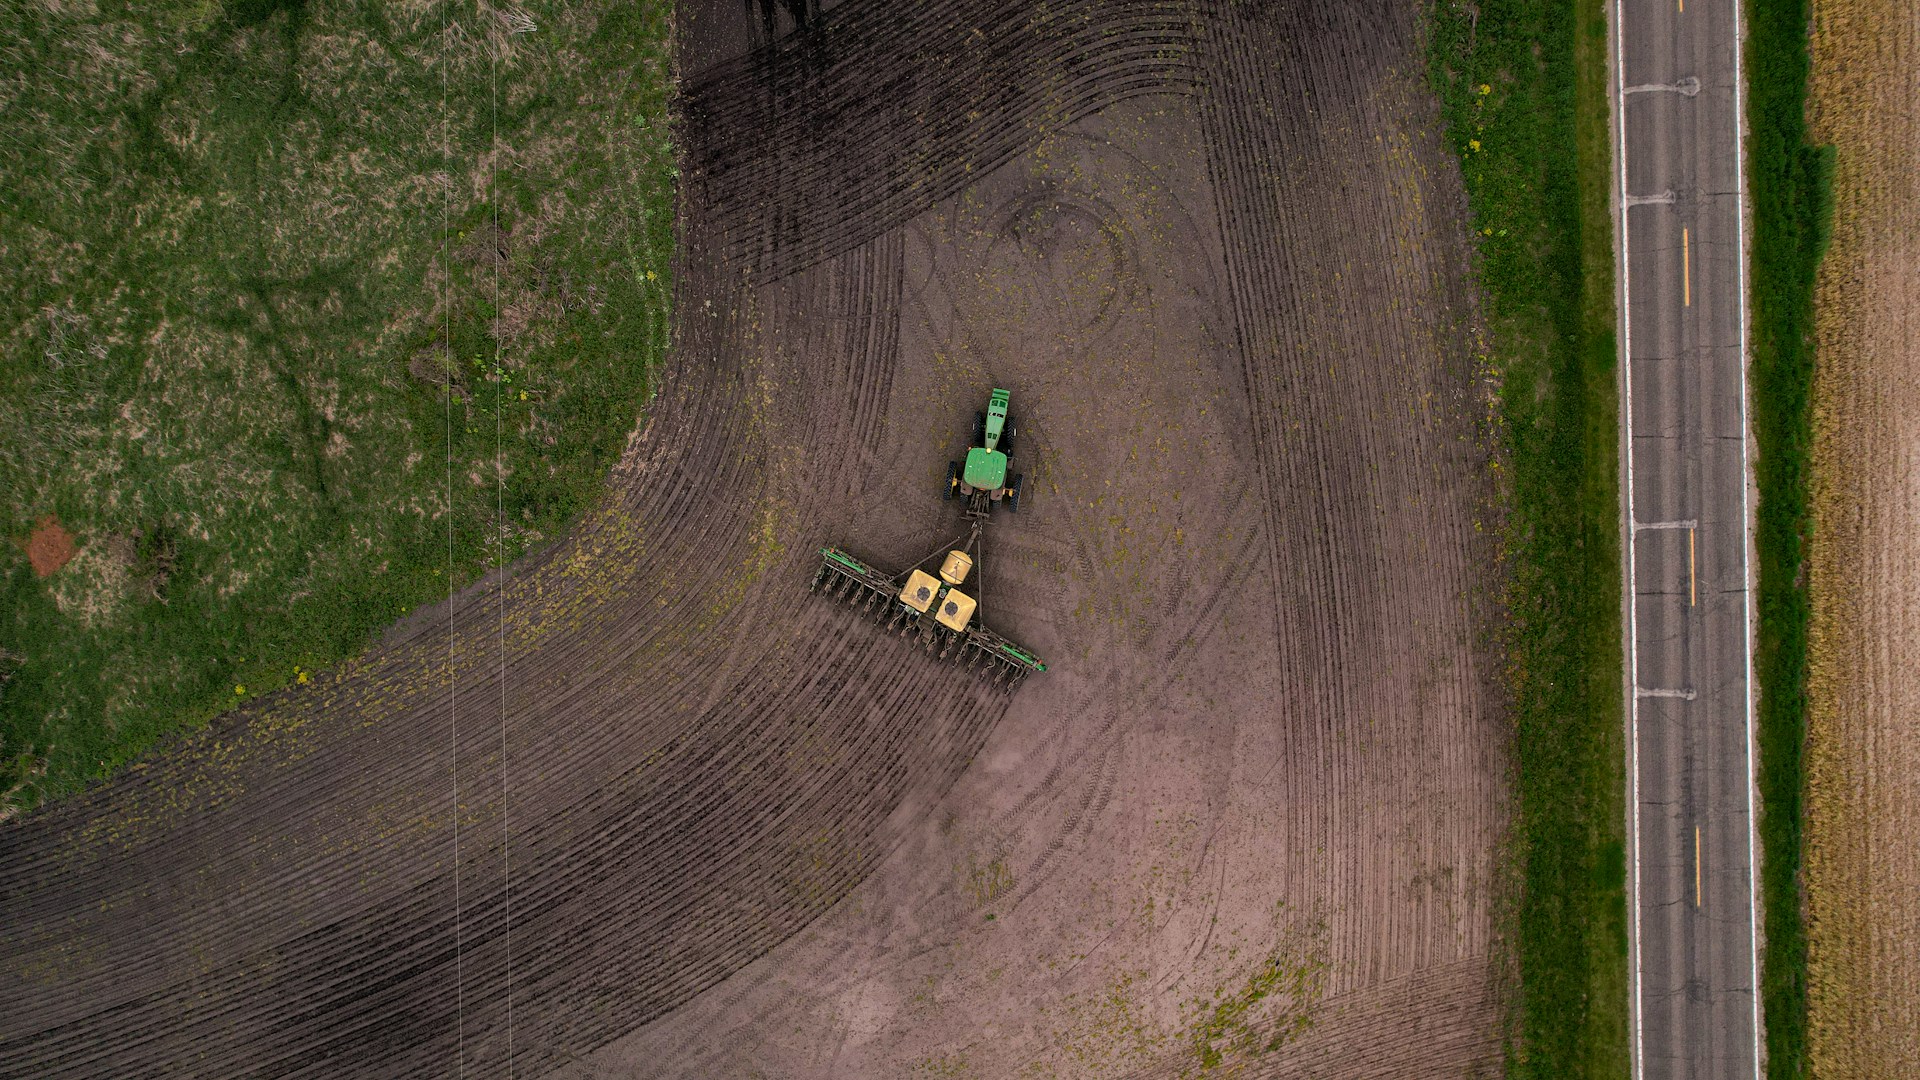
Solar farms disturb more continuous acreage than almost any other commercial build of equal budget. The footprint is wide, flat, or gently graded, and stripped of the vegetation that used to hold the soil together.
That combination changes how water moves across the site. Runoff that once broke up across brush and native grass now travels farther and faster before it hits a ditch or basin.
Wide Cleared Footprints and Long Bare-Soil Windows
A 200-acre solar installation may clear the full footprint early to give racking crews open access. That is efficient for construction and hard on soil.
The bare-soil window on utility-scale solar farms often runs for several months. Racking foundations, cable trenches, inverter pads, and collector lines all have to go in before final grade is set.
Every rain event in that window moves sediment. Two inches of Gulf Coast rainfall on freshly graded clay produces sheet flow that carries fines straight to the perimeter controls.
Compaction, Trenching, and Disrupted Soil Structure
Equipment traffic is the second problem. Pile drivers, telehandlers, and trucks run the same interrow lanes hundreds of times, and compacted soils shed water instead of absorbing it.
Trenching adds another layer. Cable trenches leave backfilled seams that settle differently than the surrounding ground, and water finds those seams first.
Soil degradation on these sites is not just a topsoil loss issue. Once soil structure is crushed, seeds struggle to establish, which extends the exposure window even further.
Interrow Corridors, Panel Driplines, and Concentrated Flow
Panels do not stop rain. They collect it and release it along the lower edge, creating a concentrated drip line the length of every table row. Dripline erosion cuts narrow trenches under the panel edge. Left alone, those trenches undermine racking foundations and expose conduit.
Interrow corridors then act as small channels, moving that concentrated water downslope toward roads and drainage systems. Knowing where that water collects is the starting point for finding the real hotspots on your site.
Identify Erosion Hotspots Before Construction Advances
Erosion on solar sites is predictable. Water follows grade, and failures show up in the same places on nearly every project: slope breaks, road shoulders, ditch inlets, and basin side slopes.
Walking the site with the grading plan and recent aerial imagery is the fastest way to flag those areas before crews bury them under equipment.
Slopes, Complex Terrain, and Collector Fields
Slope grade drives everything. Gentle interrow slopes under 3:1 can usually be held with vegetation alone. Steeper cut slopes and collector field embankments need more. Complex terrain is common on marginal lands. This is exactly where many solar projects land.
Rolling ground, old terraces, and drainage swales all create flow concentration points. Mark the top and toe of every slope over 3:1. Those are the areas where a solar farm site assessment should specify a bonded product or blanket, not seed alone.
Access Roads, Drainage Channels, and Sediment Basins
Access roads carry traffic and water. Road crowns shed runoff to shoulders, and unprotected shoulders erode into the interrow areas below. Drainage channels, swales, and sediment basins take the site's full flow volume. These are the places where velocity, not rainfall, does the damage.
Watch for these high-risk locations during layout:
- Ditch and swale inlets where flow narrows and speeds up
- Basin side slopes and emergency spillways
- Culvert outfalls and any discharge point toward a stream
- Road shoulders on any grade over 4 percent
- Trench crossings that intersect natural drainage lines
Soil Type, Site Grading, and Drainage Patterns
Soil type decides which product will actually bond. Texas clay soils crust and shed water, so hydraulic products need good soil contact and often a light scarification pass first.
Sandy and well-draining soils behave the opposite way. They absorb more, but they also move easily under wind erosion and offer weak anchoring for seeds.
Compare your soil map against the finished grading plan. Where poor soils meet steep grades, that is where your stabilization method needs to step up.
Match Permanent Stabilization Methods to Site Conditions
Permanent stabilization means vegetation cover with root systems holding the soil. Everything else is a bridge that keeps the ground in place until those roots take over.
The method you choose depends on slope grade, soil type, and how much time you have before your compliance deadline.
Hydroseeding for Fast Vegetation Establishment
Hydroseeding is the workhorse on solar sites because it covers ground quickly. A slurry of seed, mulch, fertilizer, and soil conditioners is sprayed over prepared soil in a single pass.
Germination typically begins within 7 to 14 days, with full establishment in 4 to 6 weeks, depending on weather and moisture. That timeline fits most interior and perimeter areas on flat to moderate grades.
For large flat acreage, this approach delivers coverage that sod cannot match on cost or logistics. Our crews use the same method on large commercial site hydroseeding projects across the Houston metro and Gulf Coast.
Native Grass Seeding for Interrow Ground Cover
Native grass seeding is the better long-term choice under and between panel rows. Regionally appropriate mixes need less irrigation and hold up to Texas heat and drought cycles.
Germination typically runs 2 to 4 weeks, with establishment in 2 to 3 months. That is slower than standard hydroseeding, so it needs to be scheduled with the seasonal window in mind.
The payoff is deep root systems and low maintenance. Owners running 30-year assets care about vegetation that does not need mowing every three weeks. Durable native grass site restoration is a common spec on reclamation and infrastructure corridor work for the same reason.
Flexterra and Hydraulic Soil Stabilizers for Demanding Slopes
Flexterra is a flexible growth medium (FGM) built for steep slopes and disturbed soils where standard hydraulic mulch will not hold. It bonds to the surface and stays put through heavy rain.
Use it on cut slopes, basin banks, and collector field embankments where you need immediate protection and seed establishment at the same time. It removes the labor of hand-staking blankets across long slope runs.
Hydraulic soil stabilizers also work well where access is difficult. Where you can reach a slope with a hose, you can treat it. Bonded fiber matrix slope stabilization follows the same logic on similar grades.
Blankets, Matting, and Reinforcement for Concentrated Flow Areas
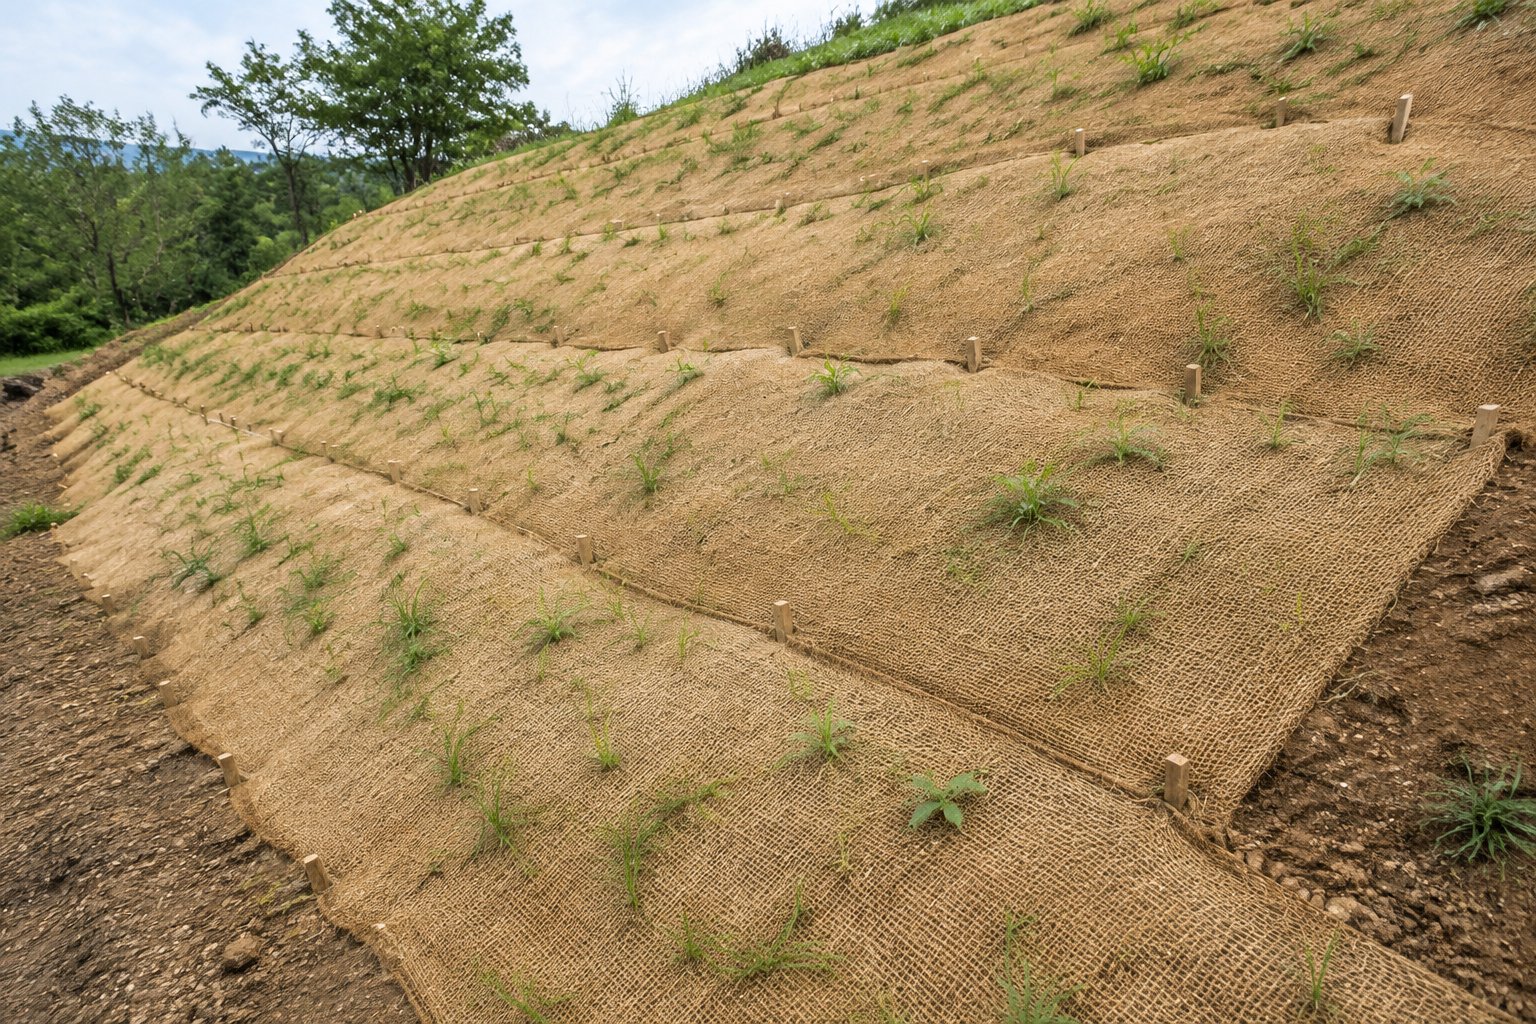
Erosion control blankets and matting belong where water concentrates. Channels, swales, dripline trenches, and steep short slopes all benefit from a physical layer.
Match the product to the flow:
- Biodegradable blankets: slopes and low-flow swales where vegetation will take over
- Turf reinforcement mats: channels with sustained flow and higher velocity
- Geotextiles: road shoulders, trench crossings, and areas under aggregate
- Protective mulch systems: broad areas needing moisture retention while seeds germinate
Choosing the right product only works if it goes down at the right point in the build. Timing is the next variable.
Sequence Temporary and Permanent Controls Through the Build
Sequencing is where most solar projects lose ground. Stabilization gets scheduled after the final grade, which leaves months of exposure that no perimeter control can fully handle.
The fix is to treat erosion and sediment control as a phased activity that moves with the grading and racking crews.
Use Phased Clearing to Limit Exposed Acreage
Phased clearing keeps exposed acreage smaller. Clear and grade only what the next construction phase needs, then stabilize behind the crews as they advance.
On a 300-acre buildout, clearing in 60-acre blocks means you never have more than one block fully bare. That is a smaller inspection risk and a smaller cleanup bill.
Effective erosion control installed early in a project is a cost-effective way to guarantee compliance, according to guidance from the International Erosion Control Association. The same principle holds for solar.
Protect Disturbed Soil Before the Next Rain Event
Temporary controls buy time between grading and permanent vegetation. Silt fences, compost filter socks, diversion ditches, level spreaders, and rock check dams all slow water down and drop sediment before it leaves the site.
Grading practices help too. Contour grading, micro-terracing, and benching on steeper slopes shorten flow paths and reduce velocity before water ever reaches a control.
Texas Department of Transportation (TxDOT) maintains a list of approved erosion control devices and practices that many solar specs reference directly. Checking your spec against that list early avoids product substitution fights later.
Transition From Sediment Control to Established Vegetation
Sediment controls are temporary by design. Once vegetation holds, they come out, and the site stops needing constant maintenance.
Plan that handoff. Seed early enough that vegetation is established before you pull the silt fence, or you will be reinstalling it after the first storm.
Vegetation management continues through the transition. Spot herbicide application and reseeding of thin areas keep coverage percentages where the permit requires them, which matters for sign-off.
Protect Compliance, Infrastructure, and the Project Schedule
Erosion control on solar farms protects three things at once: your stormwater permit, your buried infrastructure, and your closeout date. All three are tied together.
A failed slope means rework. Rework means the substantial completion date slips.
Plan for Stormwater Permits and Inspection Requirements
Most utility-scale solar projects fall under EPA National Pollutant Discharge Elimination System (NPDES) construction general permit requirements, administered in Texas by the state. That means a Stormwater Pollution Prevention Plan (SWPPP), routine inspections, and documentation.
Inspectors look for installed controls, maintained controls, and progress toward final stabilization. Photo documentation of application dates and coverage helps every time.
Build inspection cycles into your schedule, not around them. Sites that stay ahead of erosion control services under compliance pressure spend far less time answering notices of violation.
Getting Ahead of the Bare-Soil Window
The months between the first cut and final vegetation are when a solar site is most exposed, and the work you do up front decides how much of that risk you carry. Two moves make the difference: protecting the infrastructure you have already built and setting the stabilization plan before the dozers ever move.
Prevent Sediment Damage Around Roads, Trenches, and Foundations
Sediment does not just leave the site. It fills the drainage systems you just built and buries the road base you paid for.
Watch these locations through construction:
- Cable trench backfill that settles and channels water
- Racking foundation bases where scour exposes concrete or pile
- Access road shoulders and low-water crossings
- Inverter pad perimeters and equipment laydown areas
- Basin inlets that clog and backwater into the array
Protecting these features early costs less than excavating sediment out of a detention basin later. The same thinking applies to hydroseeding for retention ponds on any commercial site.
Set a Site-Specific Stabilization Plan Before Final Grading
Write the stabilization plan while the grading plan is still on paper. Assign a method to each area by slope grade, soil type, and target completion date.
That plan should name products, application areas, and approximate square footage. With numbers in hand, you can price the work and reserve crew capacity instead of scrambling for a subcontractor in October.
Running square footage through an online hydroseeding cost estimator early gives you a budget number before the bid closes.
Solar sites reward planning more than reaction. The projects that close out cleanly are the ones where stabilization was scheduled alongside racking. Not squeezed in after it.
Match your method to the ground: hydroseeding on open acreage, native grass seeding for long-term interrow cover, Flexterra on the steep cut slopes, blankets and matting where water concentrates. Then sequence it so the ground is protected before the next storm. Not after.
Allied Hydromulch has been stabilizing large disturbed acreage across Texas, Louisiana, Oklahoma, and New Mexico since 1990. If you have a solar buildout in design or are already moving dirt, request a project estimate or call 281-482-8212, and we will walk the numbers with you.
Frequently Asked Questions
What erosion-control measures are needed during solar farm construction?
Most sites need a combination of perimeter sediment controls, temporary slope protection, and permanent vegetation. Silt fence, filter socks, and check dams handle runoff during construction. Hydroseeding or hydraulic stabilizers establish cover. Your SWPPP and state permit will define the minimum.
How should stormwater drainage be designed around solar panel arrays?
Drainage should break up concentrated flow before it builds velocity across long interrow corridors. Level spreaders, contour grading, and vegetated swales spread runoff instead of channeling it. Panel driplines need attention too, since they concentrate water along every table row.
Which ground-cover methods work best on steep slopes beneath solar panels?
On slopes steeper than 3:1, seed alone rarely holds through heavy rain. Flexterra flexible growth medium bonds to the surface and protects the seed immediately. Erosion control blankets work well on shorter runs. Native grass mixes then provide the deep roots for long-term stability.
How can developers prevent sediment runoff from leaving a solar farm site?
Stop erosion at the source rather than filtering it at the perimeter. Phased clearing, fast stabilization behind grading crews, and contour grading reduce the sediment load that ever reaches a silt fence. Perimeter controls should be the backup. Not the plan.
Do solar panels increase runoff or cause soil erosion?
Panels do not absorb water, so rainfall that lands on them concentrates and drips off the lower edge. That creates narrow erosion channels under the dripline and increases flow into interrow areas. Establishing ground cover under and between rows is the practical fix.
How long does hydroseeded vegetation take to establish on a solar farm?
Germination typically begins within 7 to 14 days, with full establishment in 4 to 6 weeks, depending on weather, soil, and moisture. Native grass mixes take longer. Usually 2 to 4 weeks to germinate and 2 to 3 months to establish. Plan seeding dates around your inspection and closeout schedule.